
Privileges and system roles
In this part of the system settings, the user has the possibility to configure the settings responsible for access to the console, the type of login and authorization and the assignment of user rights.
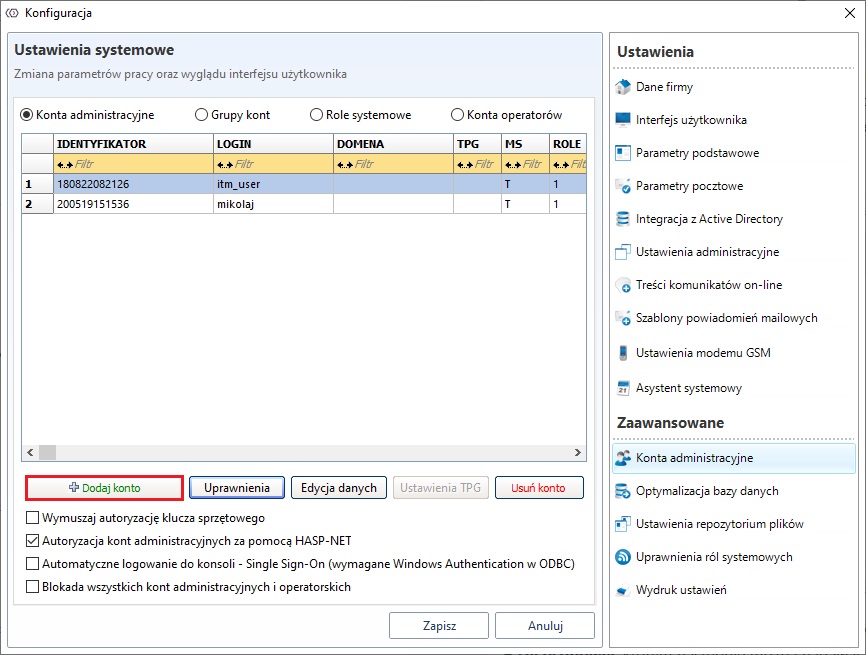
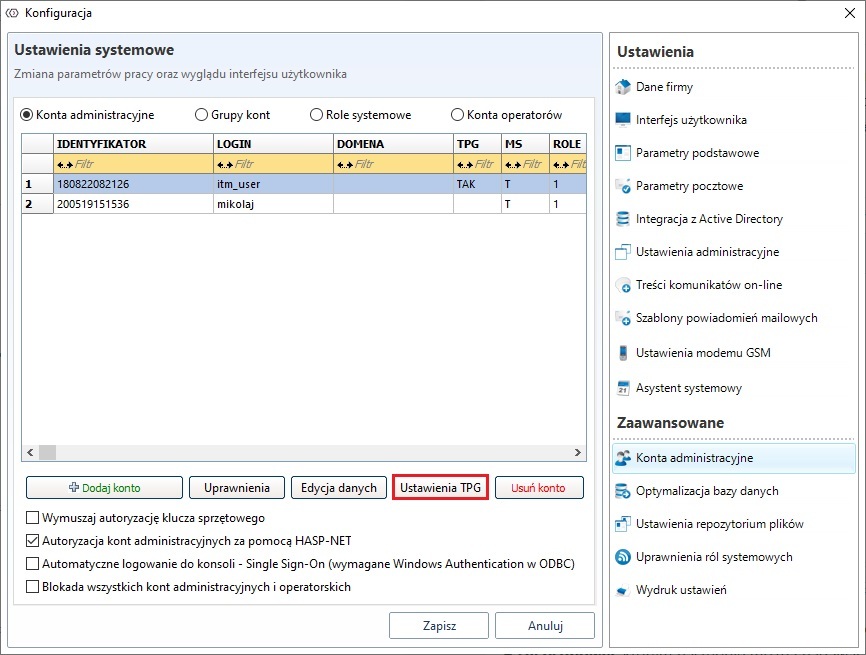
Administration accounts

In the tab Administration Accounts it is possible to add accounts from the Personal Database, which can then be assigned to the ITManager system. Accounts can be set to access individual system/bookmark/button settings according to the tasks they perform in the system. It is also possible to define ServiceDesk Engineers, their privileges and the category of tickets. Additionally, it is possible to define the way of logging in to both the console and the ServiceDesk portal.
Name of option | Description |
|---|---|
Force the authorization of hardware key | |
Administrative accounts by HASP-NET | |
Login to concole automatically - Single Sing-On (SSO) | Allows auto-logging into the ITManager console. https://help.it-man.pl/eng/tools-articles |
Disable all administrative and operator accounts | Blocks administrative accounts |
Adding an administrator account
In order to add a new account, select Add account.
Then select the user to access the console from the drop-down lists
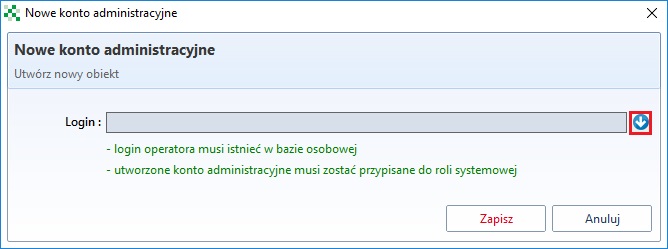
Here you can add both users created directly in Personal database or downloaded from AD. If the selected user was downloaded from AD, he will be able to log in to the console using domain credentials. To do this, you must additionally allow AD authorization in the tab Administrative settings.

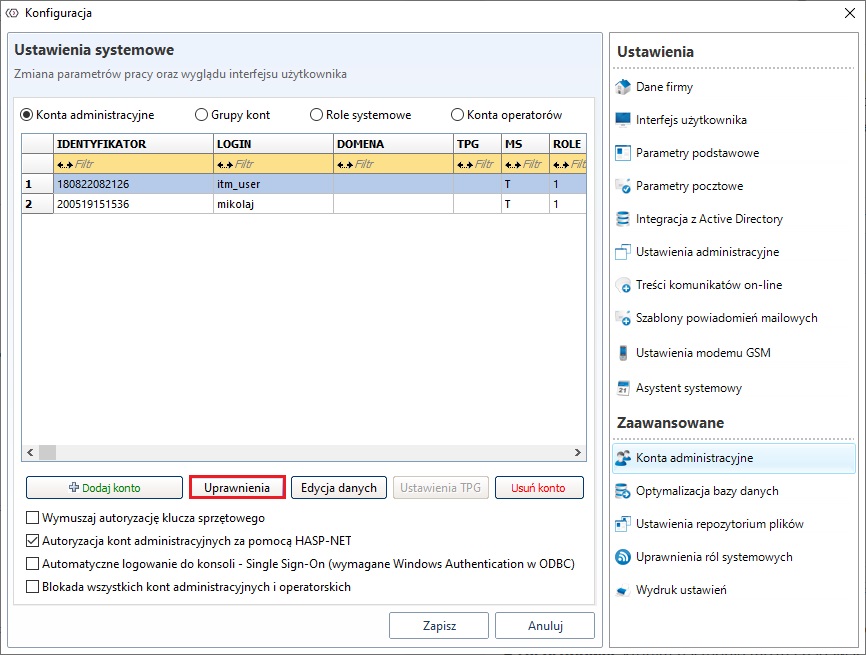
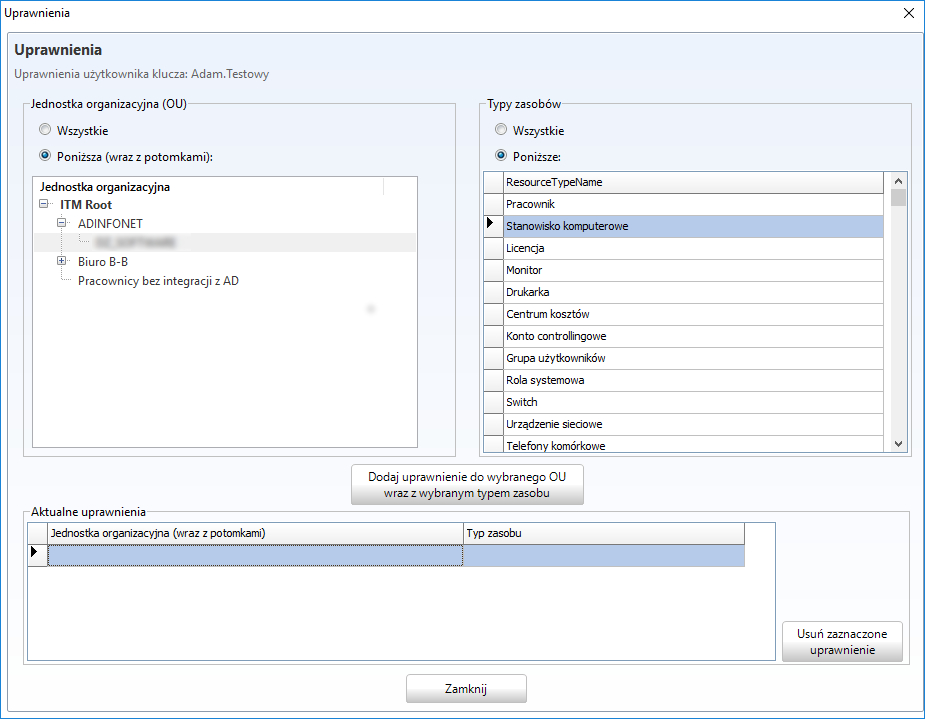
Delegation of permissions
After adding a new user, you have to give him/her permissions to do so by clicking the button Permissions.
In the newly opened window, select the tab Assigned system roles
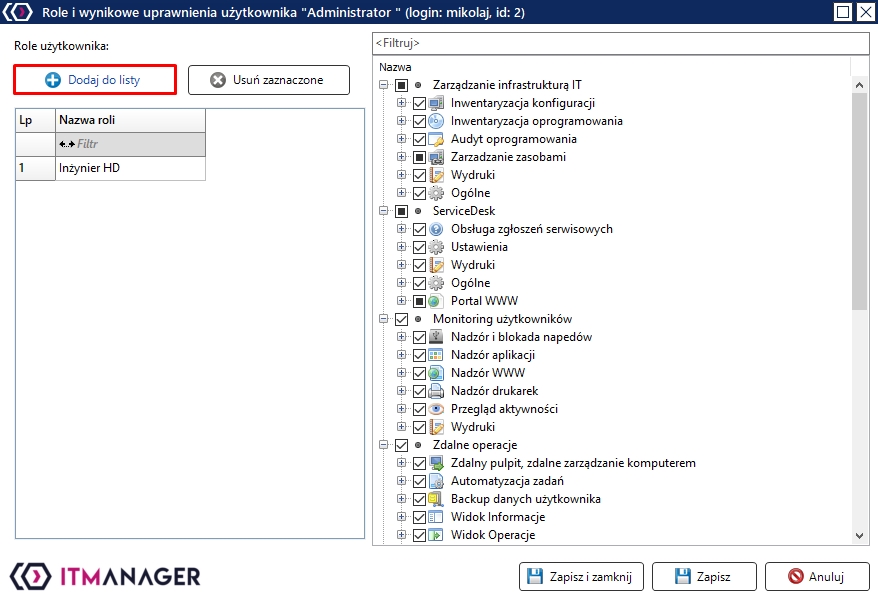
In the next window, select the role that you want to assign to a specific user by selecting the role and clicking the Assign button.
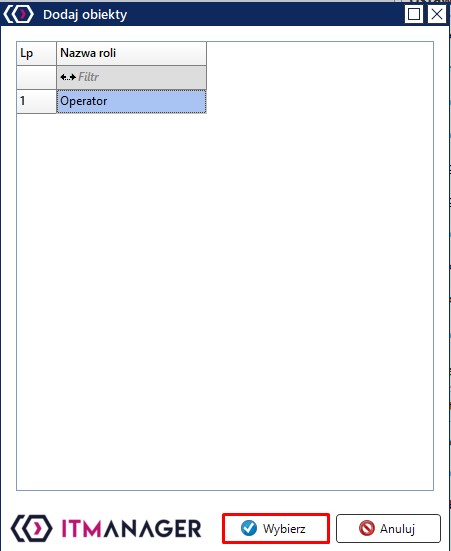
If there is no role in the selection window, create one by going to the tab System roles.
Important
An administration account with no systemic role will not be able to log in to the IT Manager management console (No permissions).
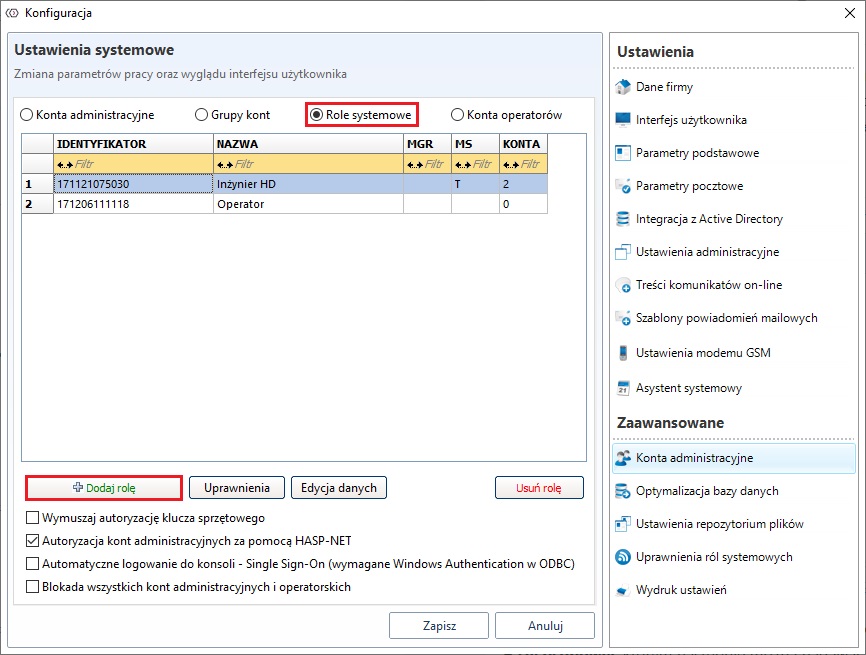
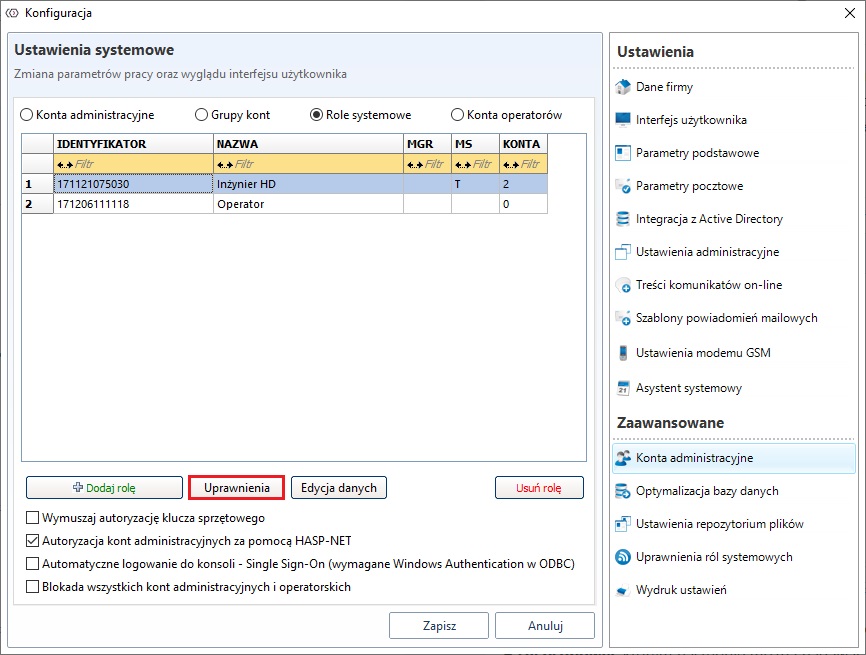
System roles
To create a new role, select Add a role
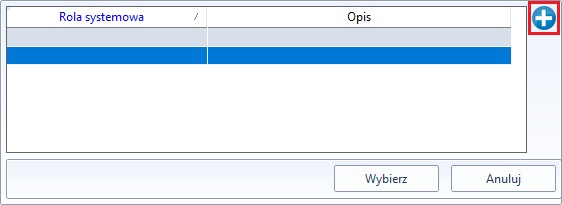
Then, in a new window, click the + icon.
In the new window, give a role Name your own and Organization unit
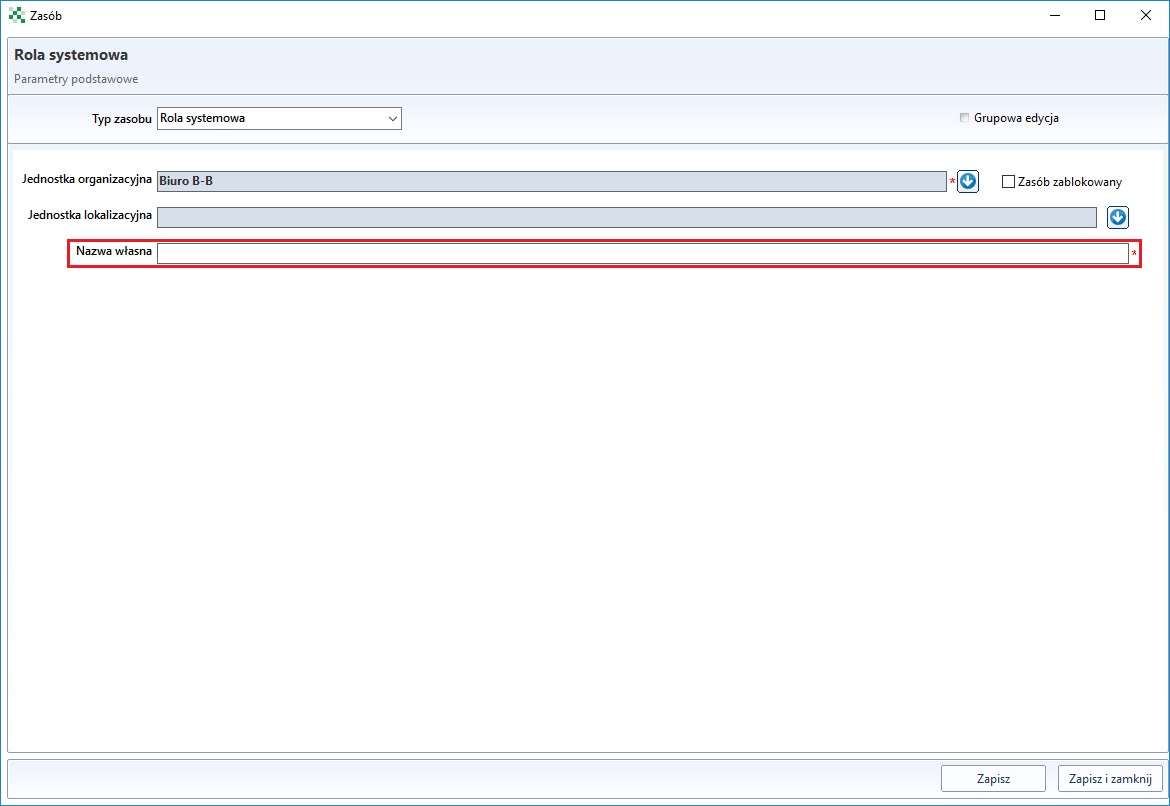
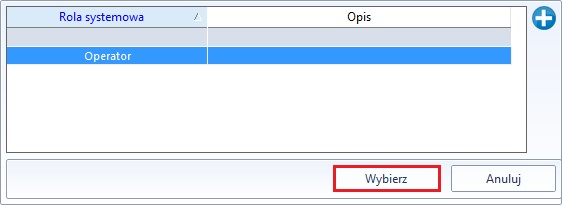
After saving the new role, select Select.
Then the newly created role has to be given permissions, in order to do so, click Permits.
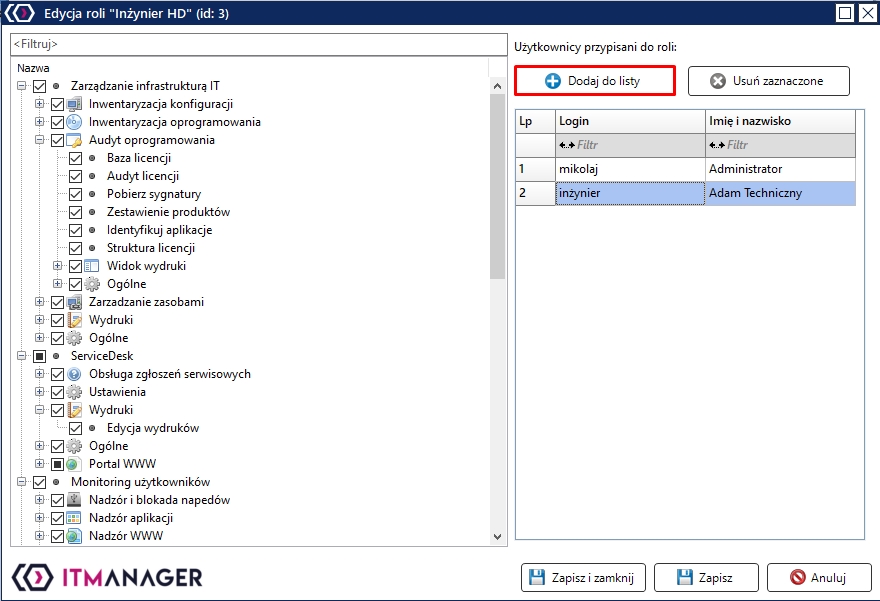
A list will appear in a new window, which is divided into modules, options and buttons.
The powers are divided into two types of attributes:
(a) expandable - assuming values Disallow, Full access and N/A
(b) Yes/No - prohibiting or permitting the operation of the selected rating
For security reasons, the system shall be based on the following principles :
Disallow has higher priority than Full Access.
N/A - value not affecting the aggregation of allowances
On the right side of the window I will show the accounts that are assigned to the role.
Important
If the administrative account has been allocated to multiple system roles the summation of rights according to the above scheme will be performed.
Account groups
Account groups are created in a similar way to roles, but here, unlike in the case of system roles, selected categories are directly assigned from the ServiceDesk module and then the users to be assigned to the group.
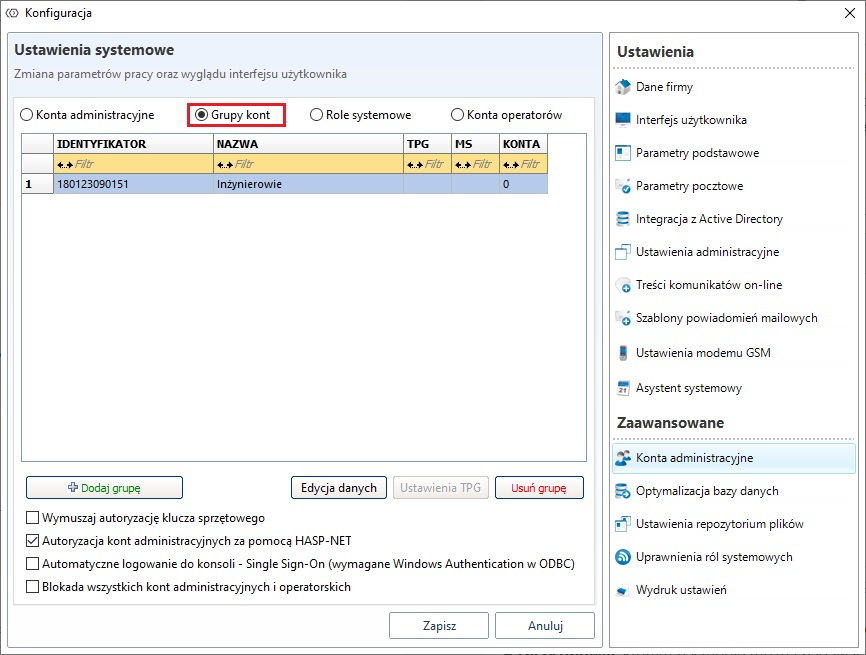
To add a new group, select Add group.
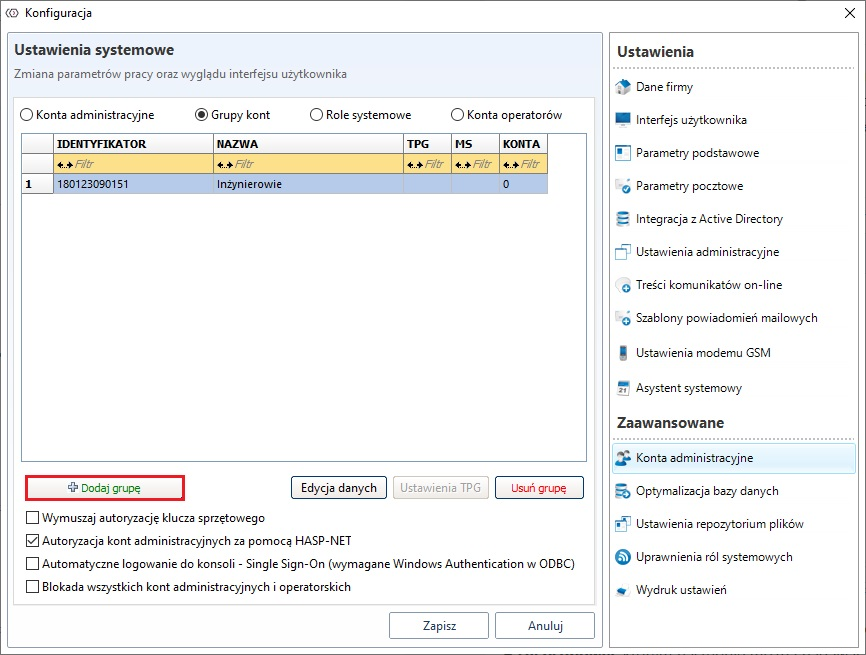
Then, in a new window, click the + icon.
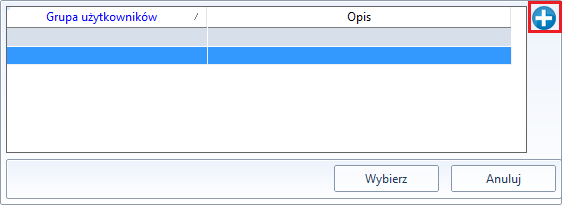
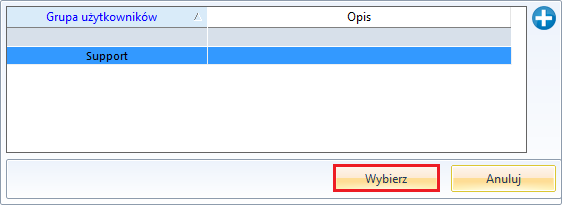
In the new window, give the group Name your own and Organization unit

After saving the new group, select Select.
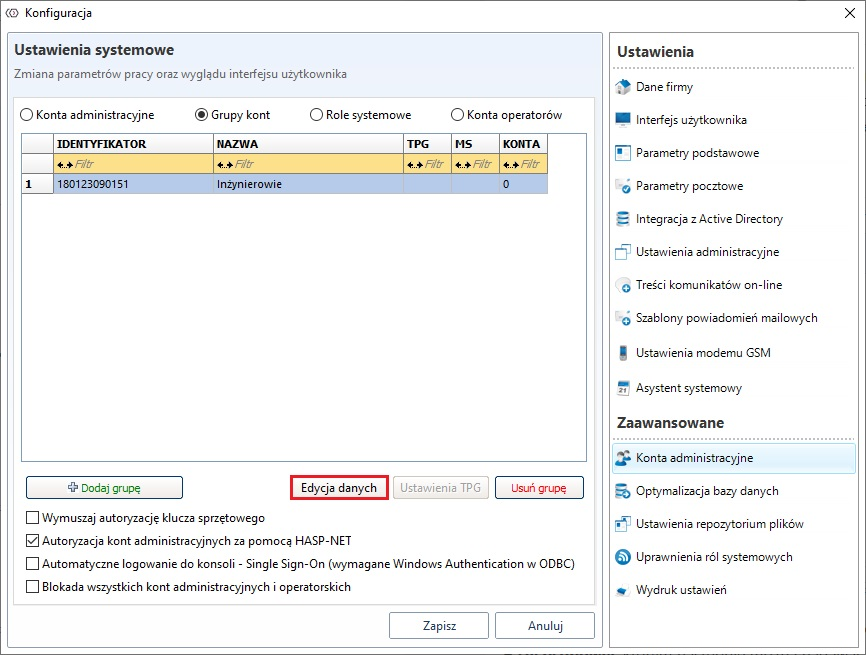
Then click the button Edit data
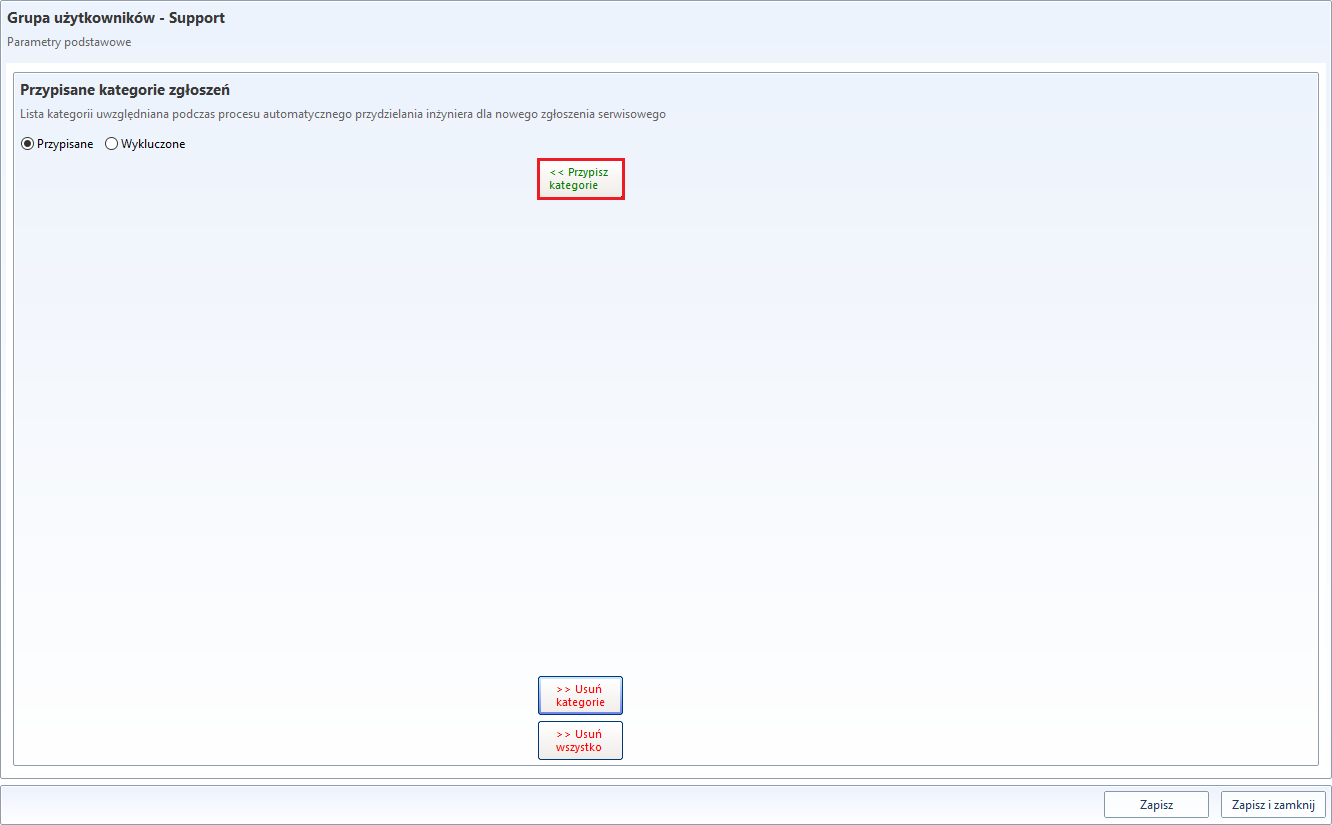
In the new window, select Assigned HD categories
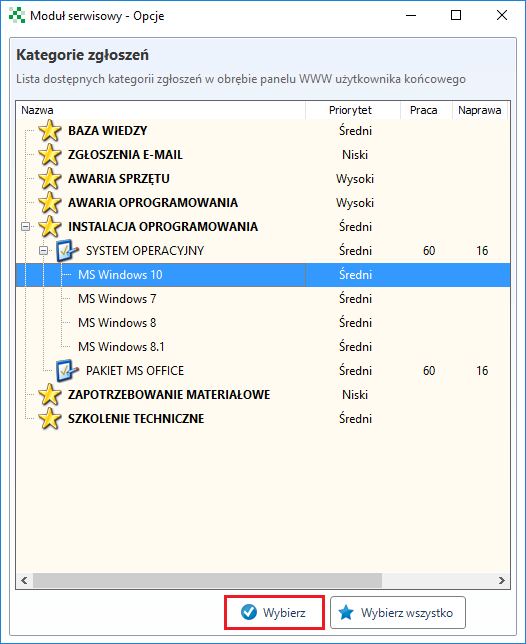
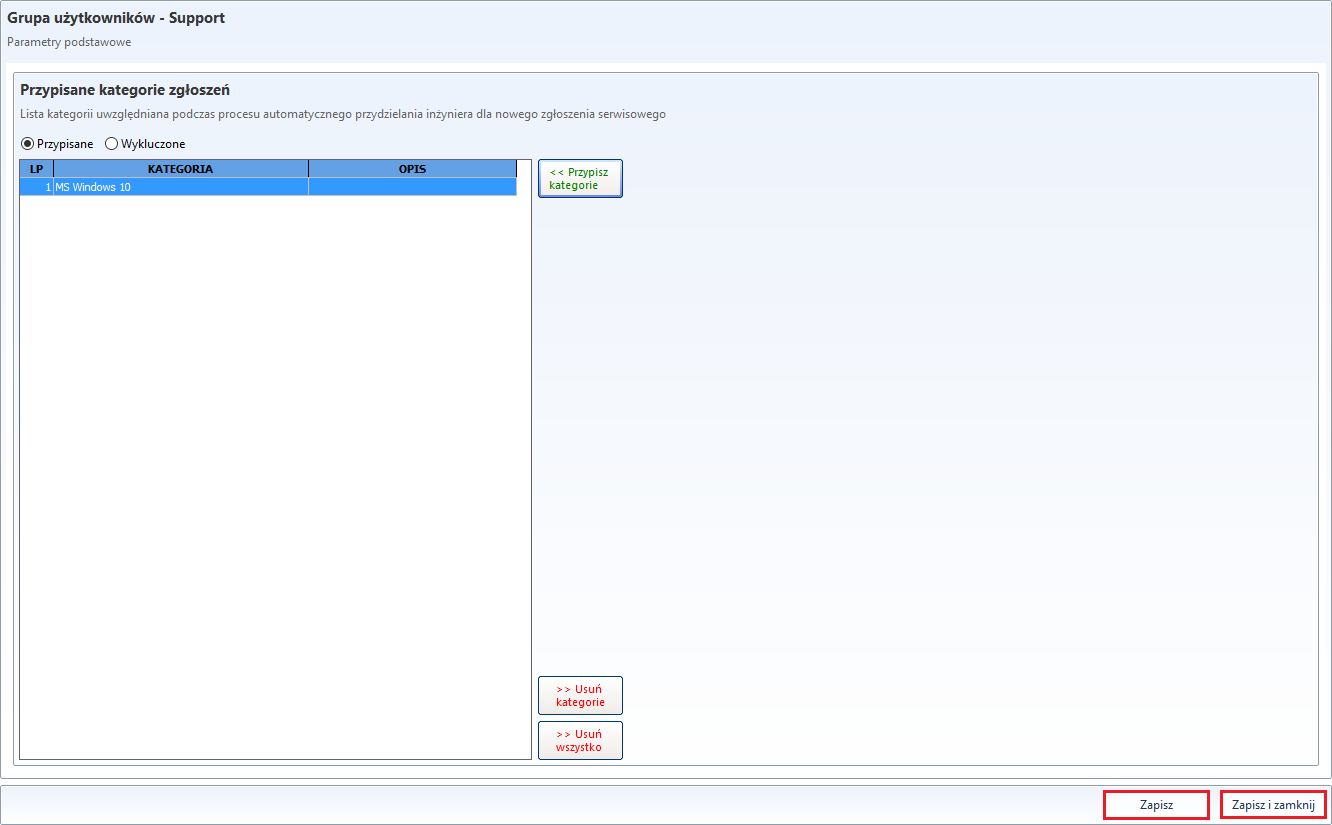
The next step will be to select a category by clicking Assign categories and select a category from the new window.
After saving the changes, you should link to the user group through the option Add employee link.
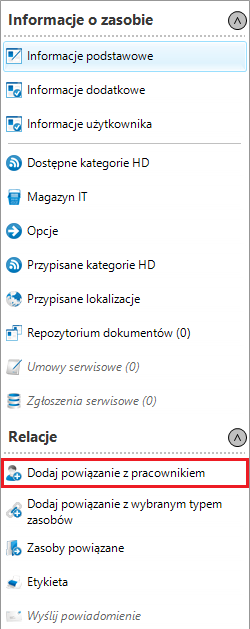
From the list of employees, select the users who will belong to the group. These should be users who have access to the administration panel of the ServiceDesk portal.
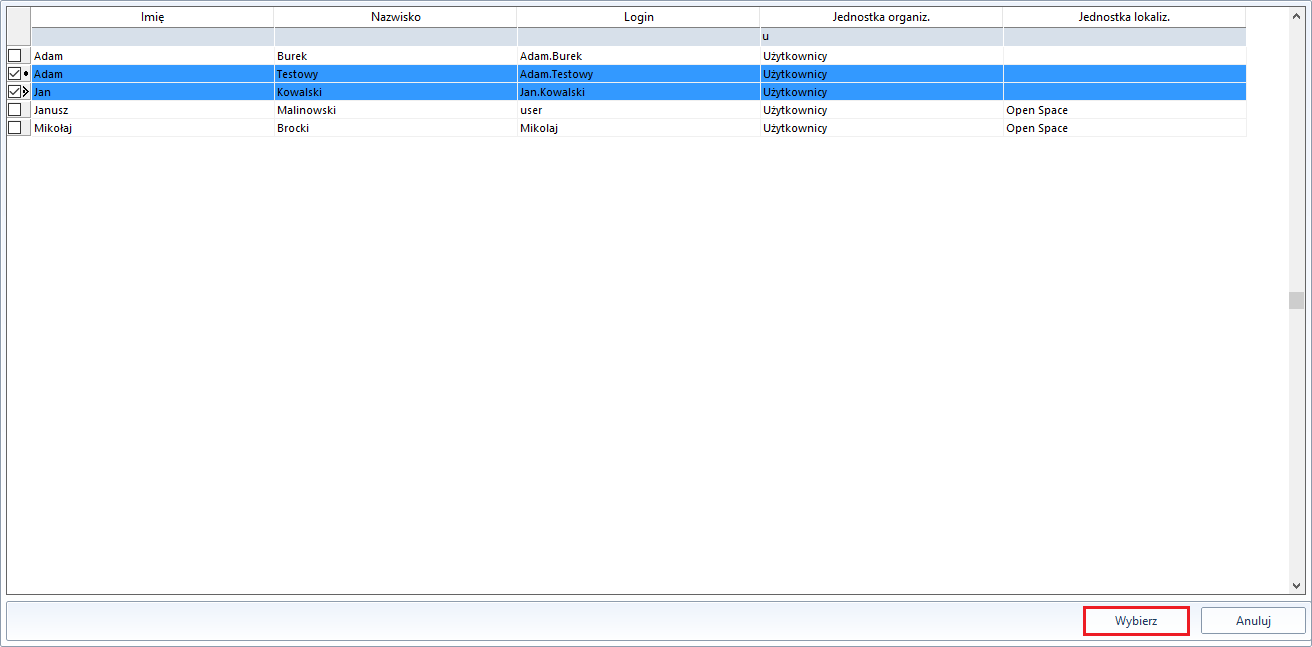
After selecting the users, save the settings.
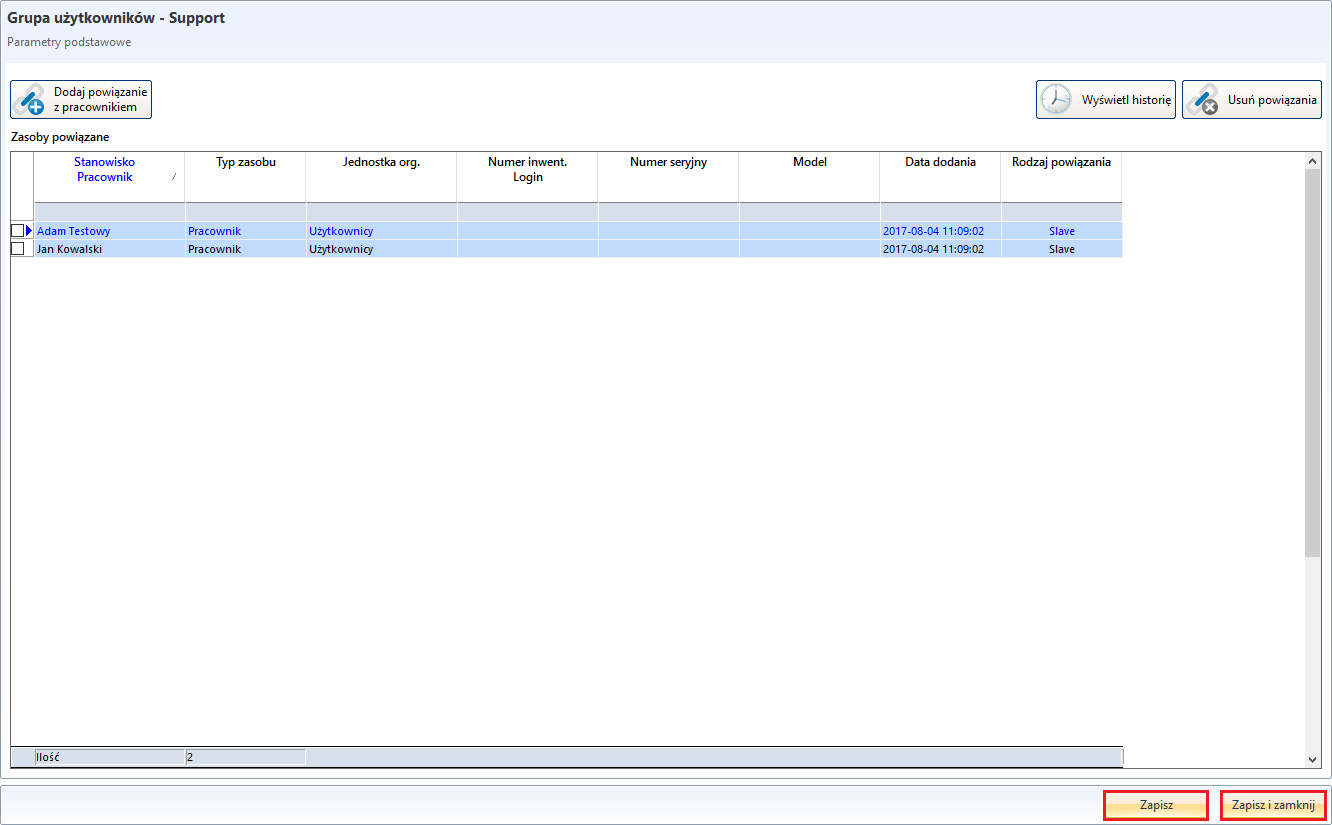
The last step is to go to the Options tab, select Service Requests and save the settings.
GVM (Group View Mode)
The GVM Settings button (Group View Mode) allows you to restrict access to the account to only the job groups indicated. To activate the button, the option Activate Group View Mode (GVM) must be activated for the selected account in the pop-up menu (PPM on the selected user).

Enabling the TPG option for the account will activate the button GVM settings,
which, when clicked, opens the window shown in the figure below
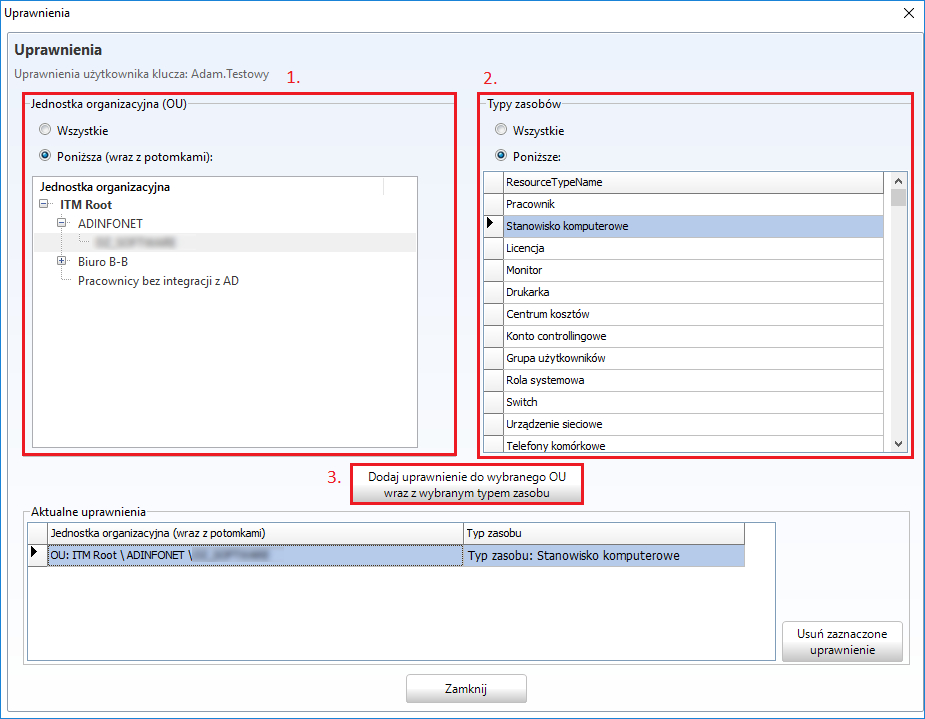
The next step will be to select the organisational units and types of resources for the user.
From the list on the right (OU organisational unit)), select the unit to which the account is to have access,
Then, in the lists on the left (Type of resources), select the resources to which you want the account to be visible.
finally, click Add permissions to selected OU together with selected resource type.
Setting the GVM only to the indicated groups will narrow the list of available positions in the console. After logging in, the account will have access only to positions belonging to selected groups.