Tools - Articles
Replacing the development console
To upload a development version of the ITManager console, you need to move the downloaded file to the folder with the C:\Program Files (x86)\IT Manager\Console. Then run the console using your admin account. When you start the console, it will pick up the database version.
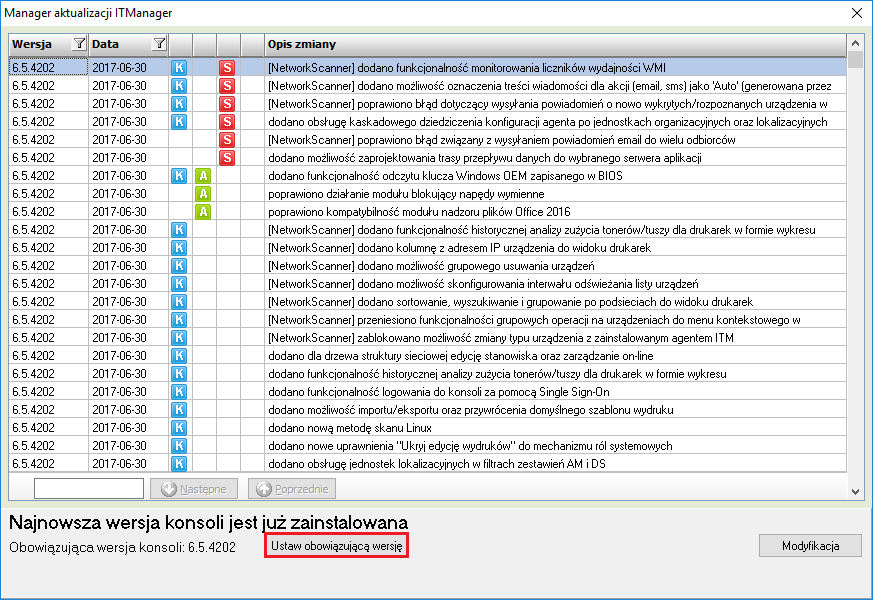
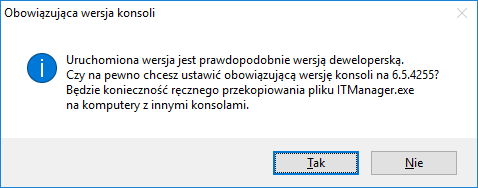
Then, after logging in to the console, you should set it as a valid version. To do this, go to the tab Help->Check the updates.
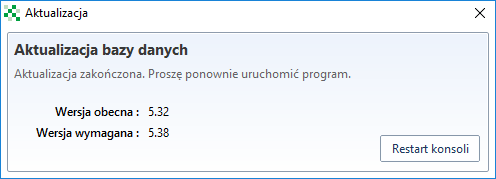
When this option is set, the following messages will appear.
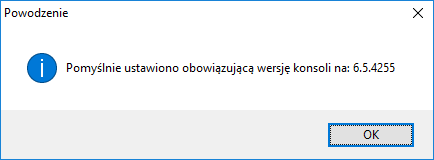
Once this has been done, the console will be ready for operation.
Important
If there is more than one console in the organisation, an update must be carried out on all positions.
The databases are updated automatically.
SSO login activation
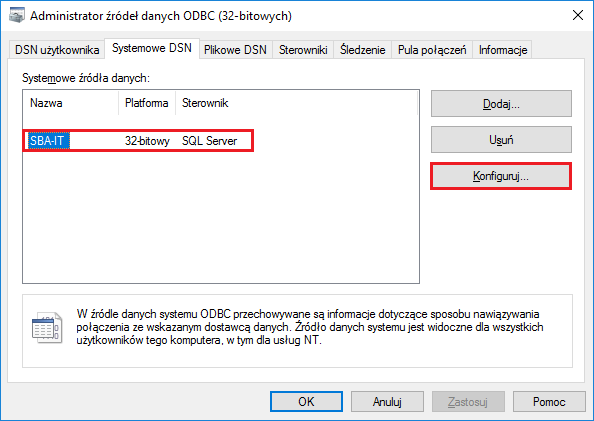
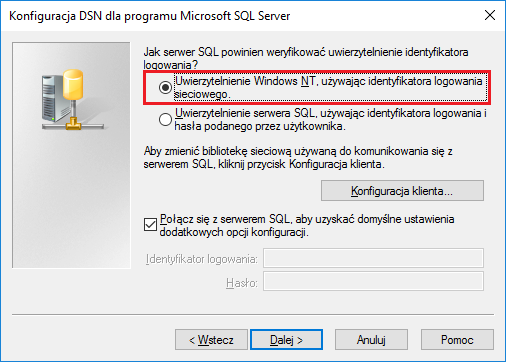
The SSO login option to the console requires Windows Authentication (authorization after Windows NT) to be set to a 32-bit ODBC source for each console - the default source is SBA-IT.
In the console, select the option Login to console automatically - Single Sign-On (SSO) (Tools-> System configuration->Administration accounts)
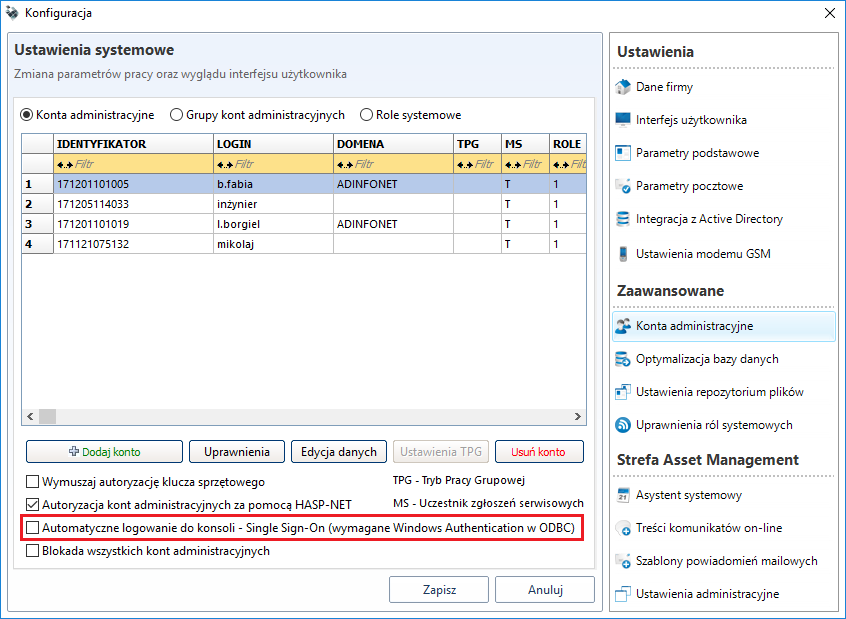
Additionally, the user should be able to log in to the ITManager database using Windows Autentication and should have at least local administrator rights on the computer on which the console is installed. In this case, user accounts should be added to the main branch (instance->Security->Logins), with permissions like the user SBA_USER.

Examples of articles:
https://msdn.microsoft.com/en-us/library/aa337562(v=sql.105).aspx
https://technet.microsoft.com/en-us/library/ms345332(v=sql.110).aspx
Important
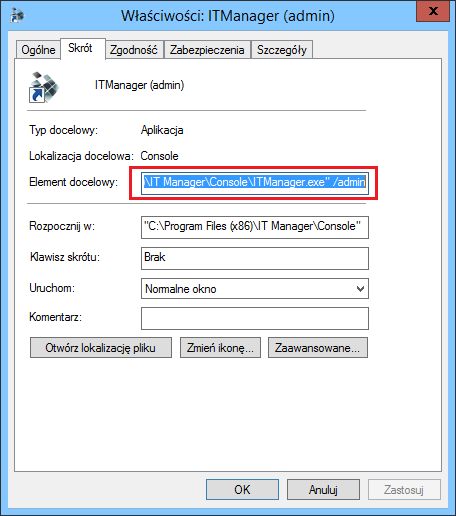
To run the console without logging in through the SSO (e.g. to log in to your admin account), you must run the console with the /admin switch. For this purpose, you can prepare an appropriate shortcut to the console.
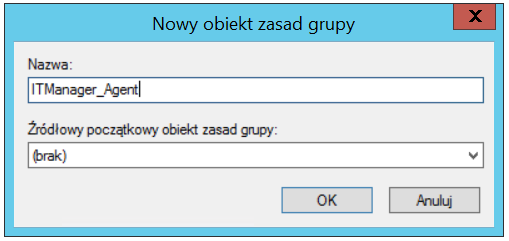
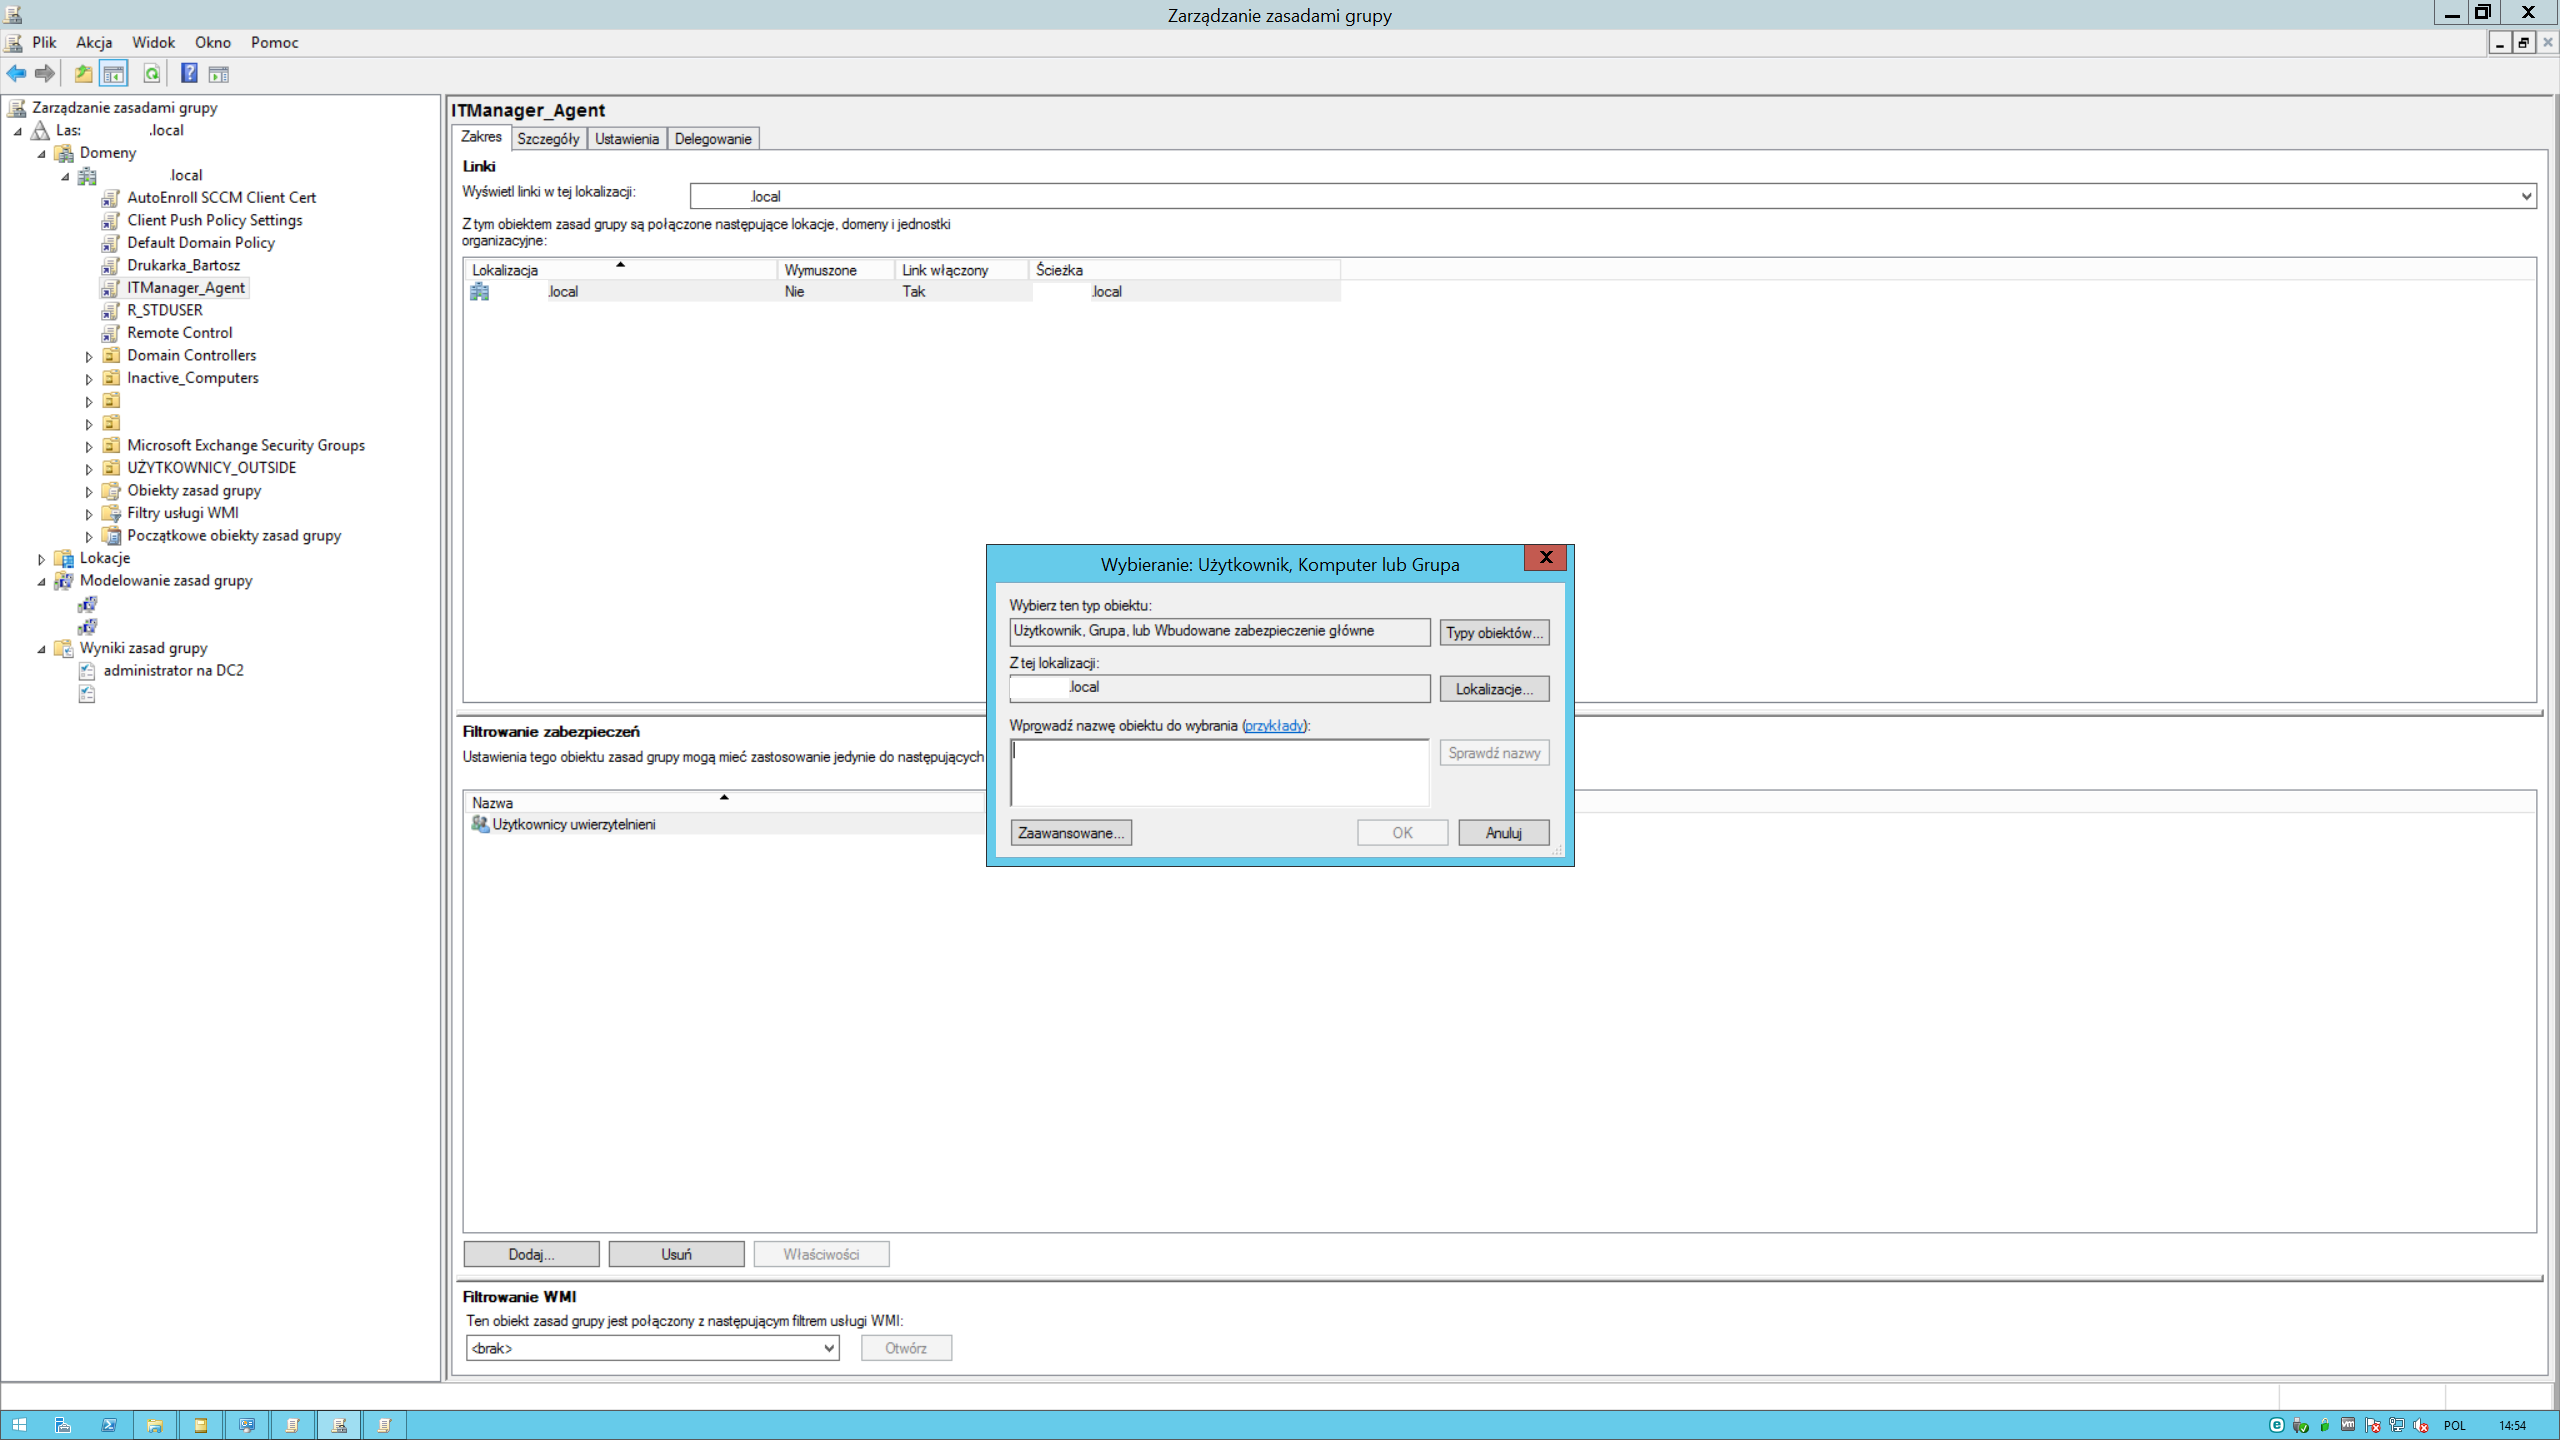
Agent Distribution (GPO)
The following is an example of the task of distributing the Agent through the GPO.
Creating a new policy.
Narrow the scope of its operation by placing it in the section Filtering security of computer/user accounts to which the policy is to apply.
Edit the policy, create the installation package (here in the context of the computer account, similarly, we can create in the context of the user account by developing User Configuration->Principles->Software Setup->Software Installation).

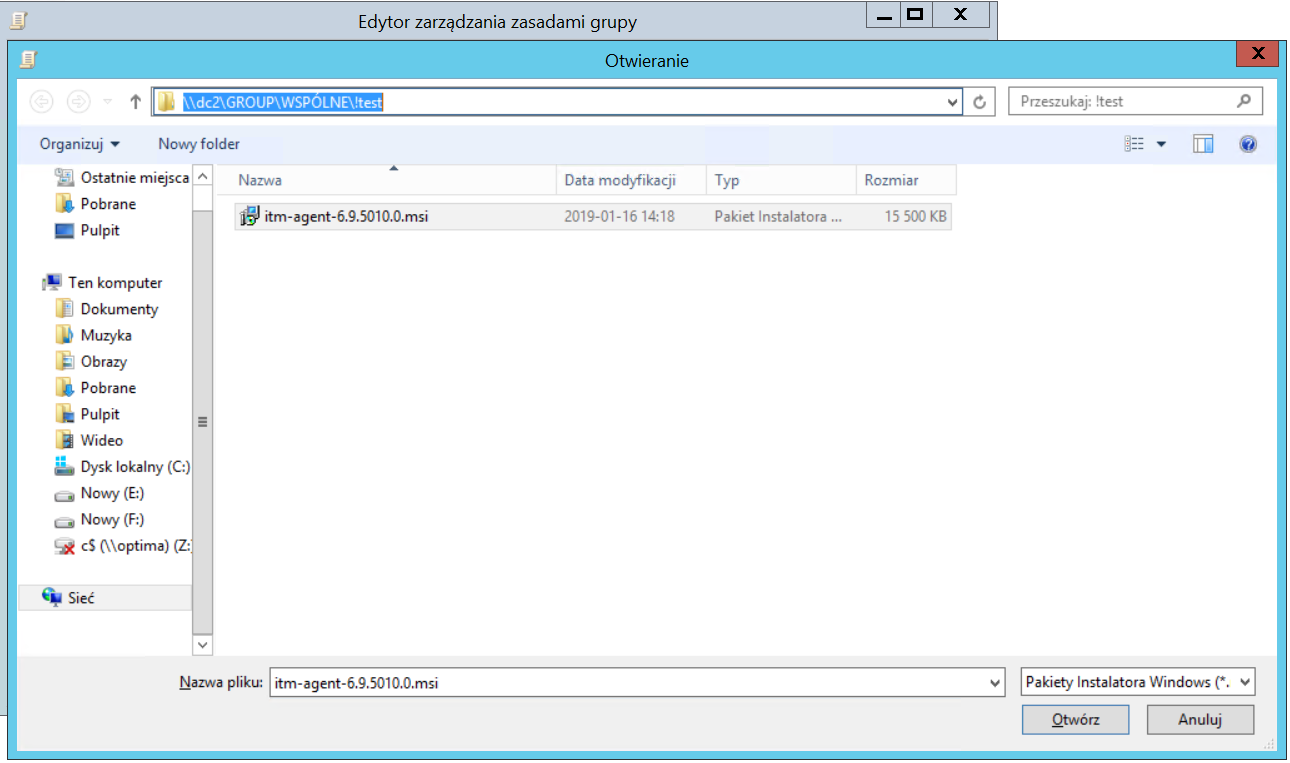
Indication of a package of msi for distribution (necessarily in UNC path format).
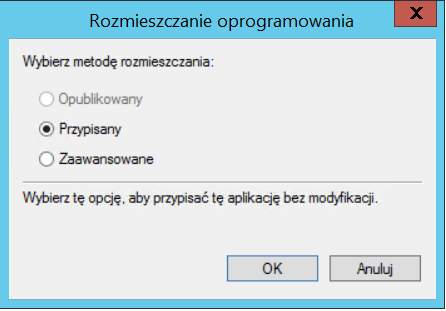
Selection of installation mode.
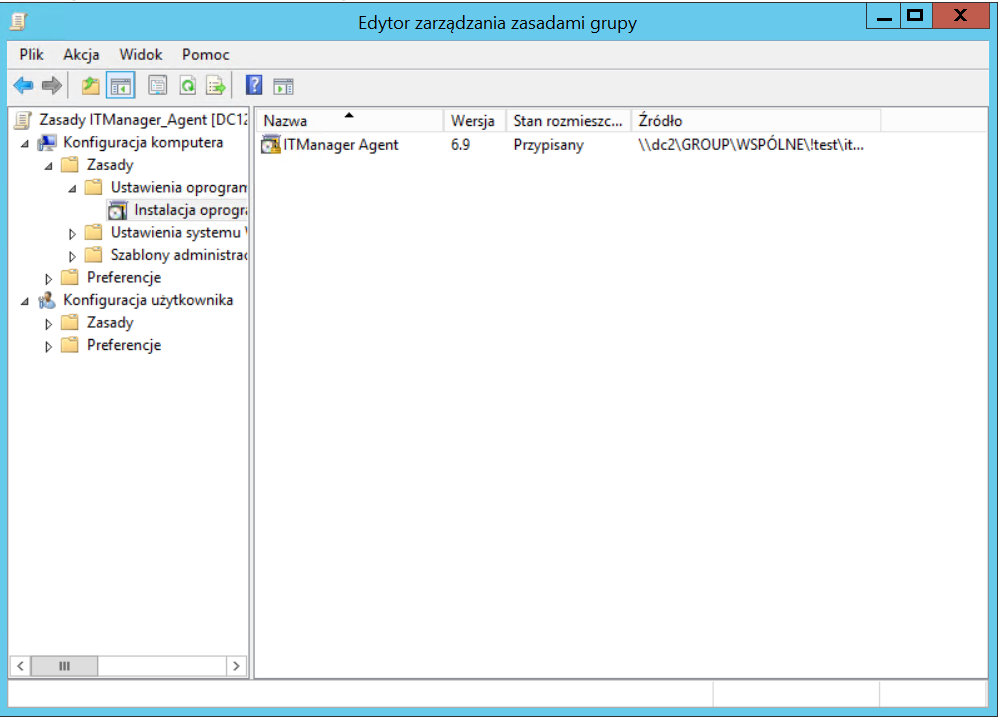
The view after the creation of the package.
Optimization files import
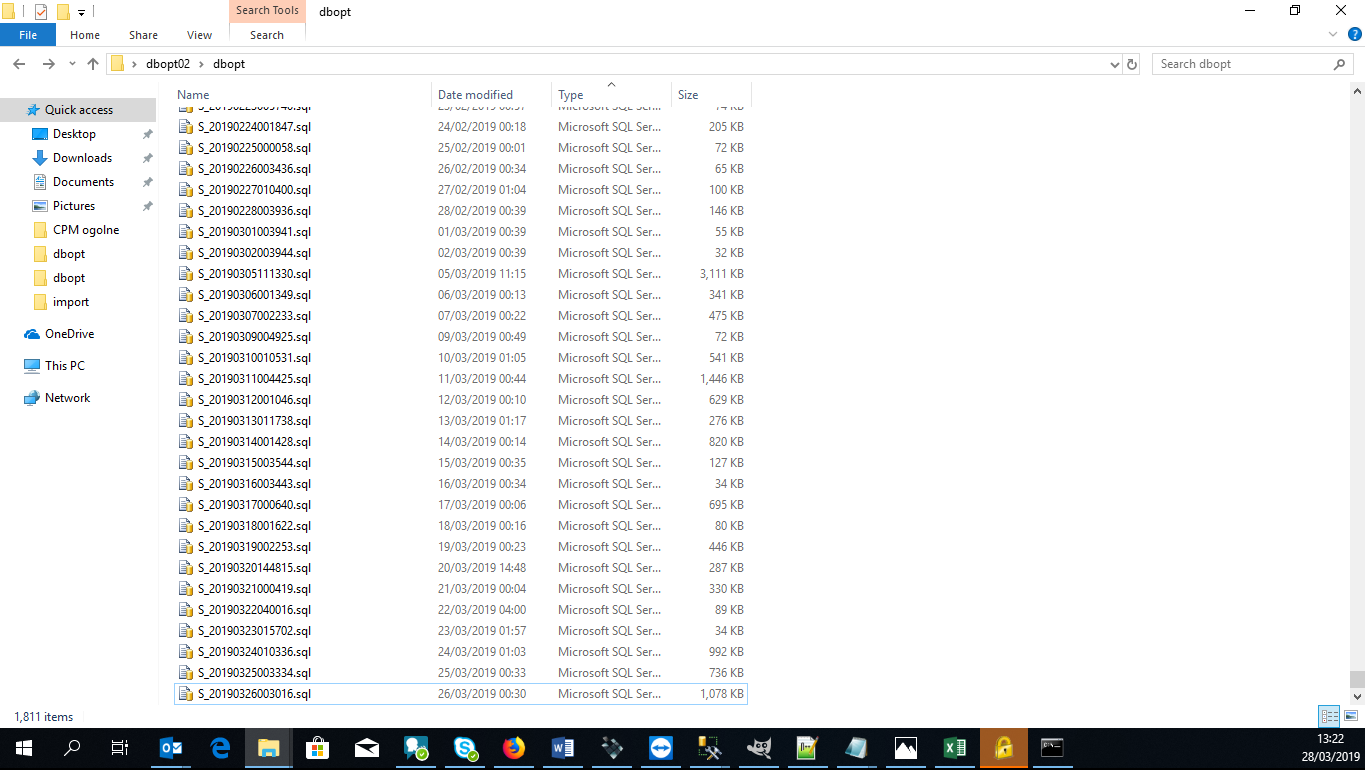
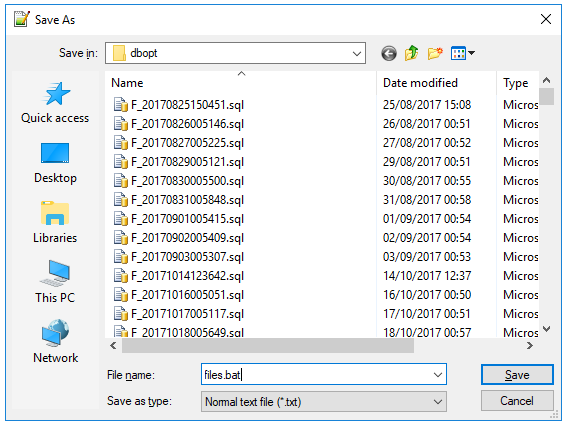
All files that we plan to import into the database should be placed in a single folder.
Then, using the
dir /Bcommand, display the contents of this folder and redirect the result to the file. Thanks to such a procedure we will obtain a file which will serve as a base for a future script importing data to the database.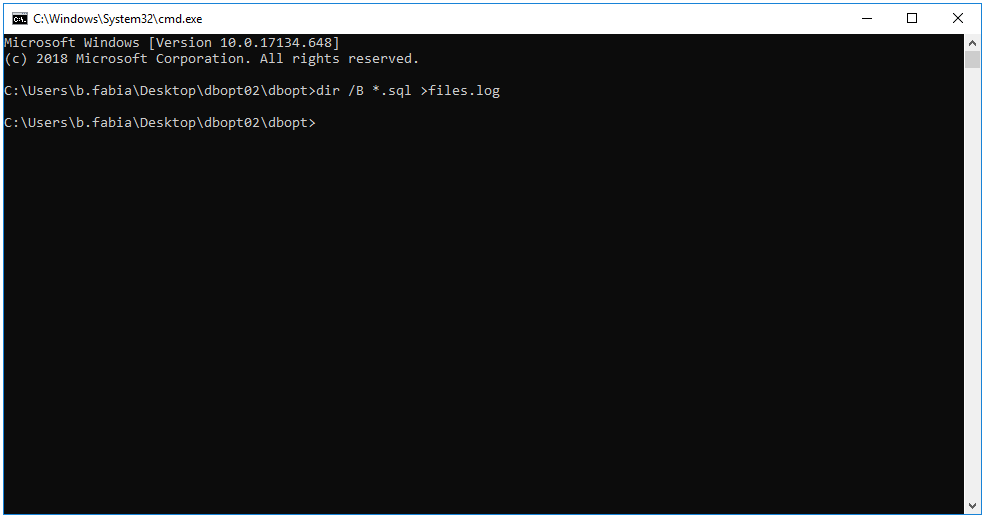
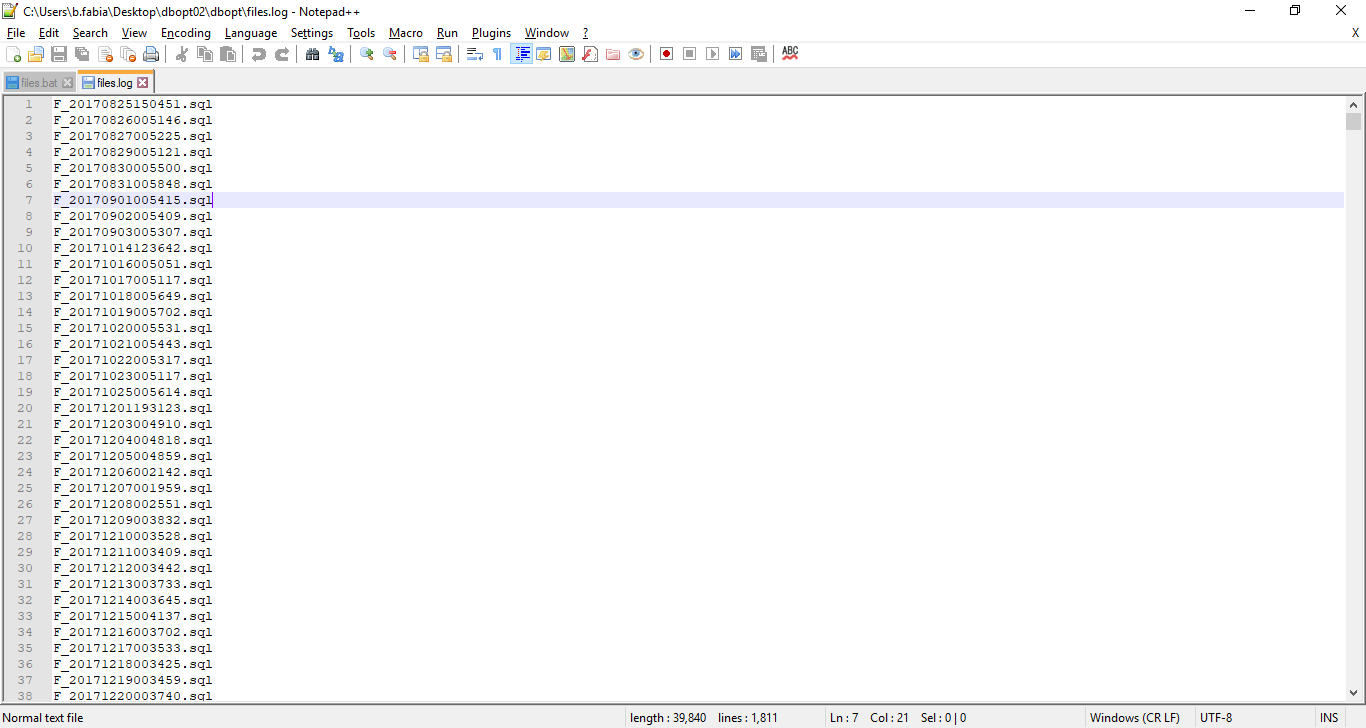
The resulting file should be run in a text editor, e.g. Notepad ++.
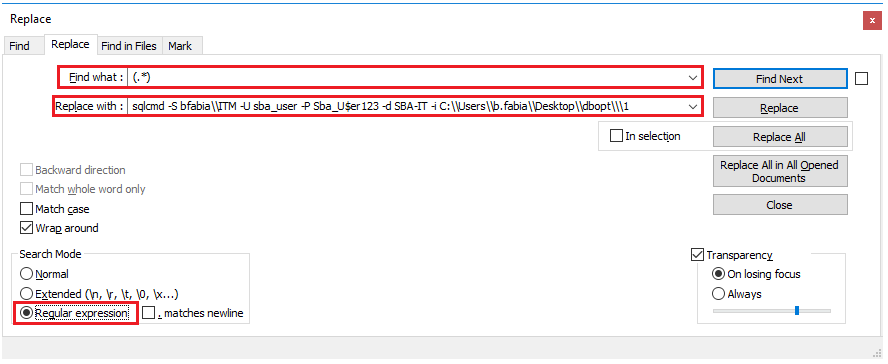
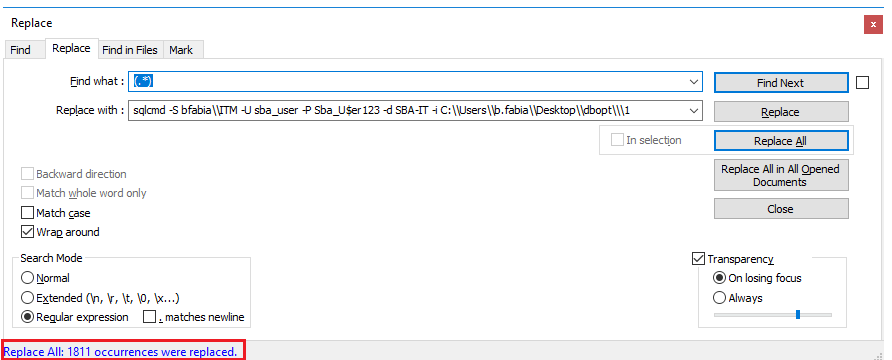
Then, using the shortcut CTRL+H, run the multiple-shift tool. In the text field called "Find What" enter a string (.*), which corresponds to the entire line of text, and in "Replace with" `sqlcmd -S bfabia\NITM -U sba_user -P Sba_U$er123 -d SBA-IT -and C:\n-Users.fabt.pl where parameter -S means SQL instance, -U account to database, -P password to database, -and location to folder with imported files. Then select "Replace All". Once done, check if the changes have been implemented to all lines.
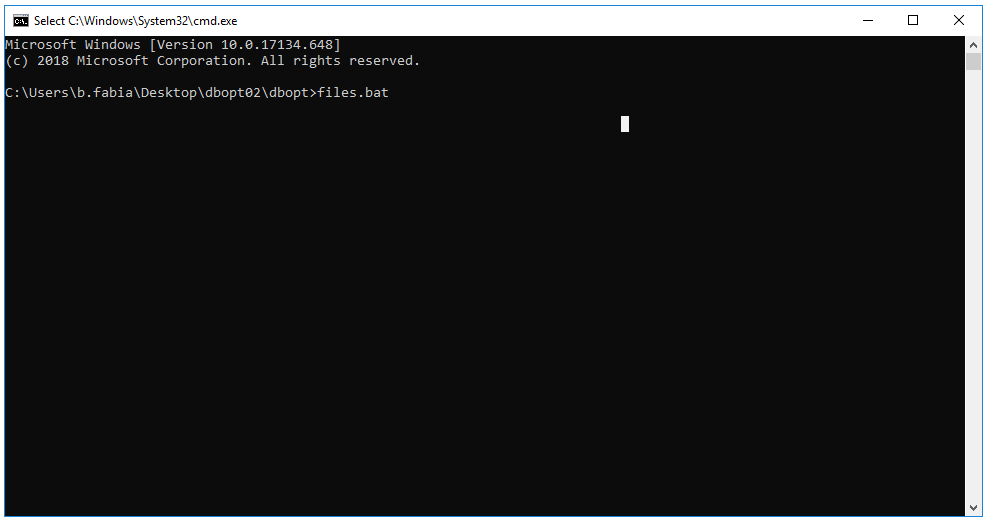
write down the leech with the extension bat.
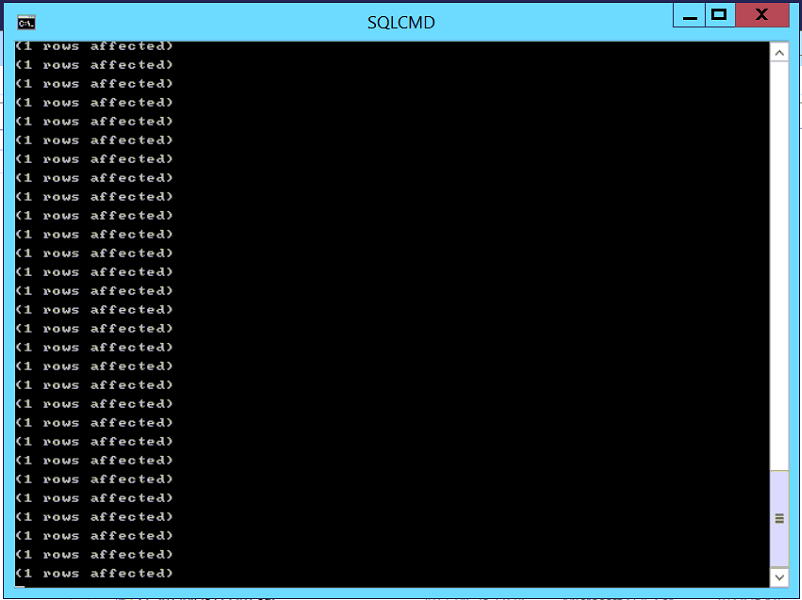
run the command line and run the created script. The program informs about adding more data with the message "1 rows affected".